If the MyEducator add-in isn't already installed on your instance of Office365 Excel for Mac, and you are unable to install it through the Microsoft Add-ins Store, you may need to install it manually using the sideload method. Below are the steps to install the add-in with this method:
- Open the attached document in this article (Mac-Install-MyEducator-Addin-redirect (2) 2)
- Click "Enable Macros". This will allow you to install the add-in at the click of a button.

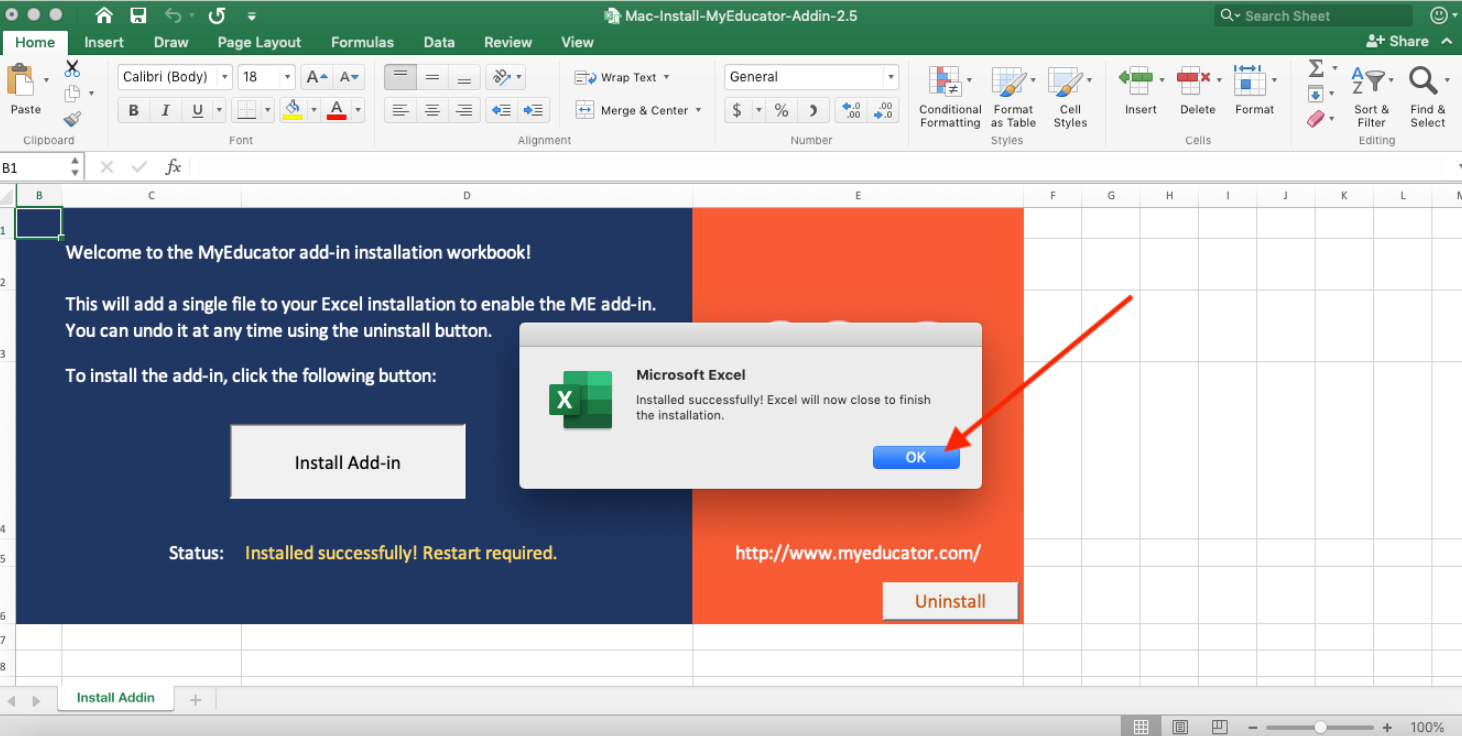
- Click the "Install Add-in" button in the middle of the blue box.

- Click "OK" when the message box appears letting you know the Add-in was installed.
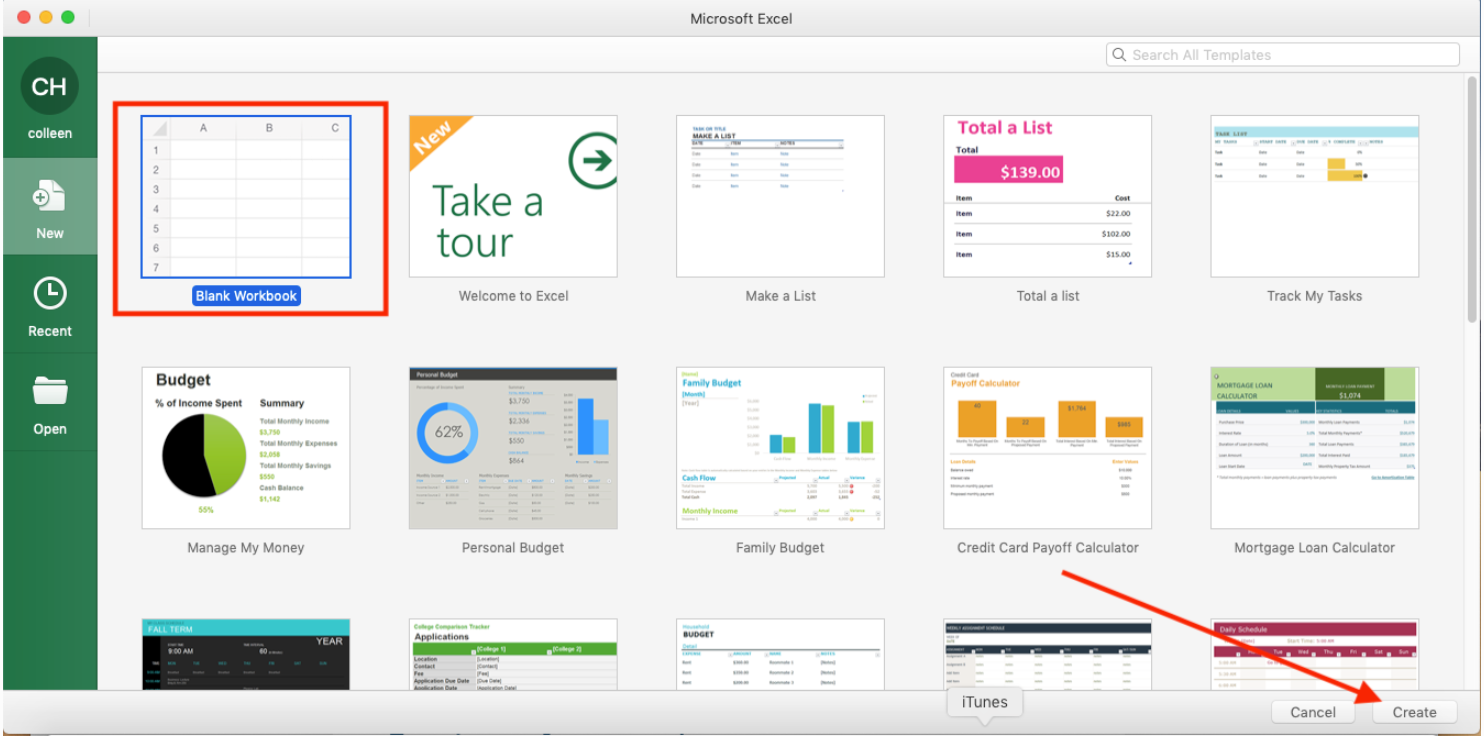
- Excel closes automatically. Reopen Excel and open a new blank Excel Workbook by selecting "New" from the File menu and selecting "Blank Workbook" and then "Create".
- On the "Home" menu, choose "Add-ins".

- Select Atlas 3.0

- The Add-in button will display on the right side of the Home ribbon with the text "Atlas 3.0" beneath the icon.

- You'll now be able to copy assessment keys from your MyEducator course into the Add-In

This method should get the add-in installed on your MacOS Office 365 Excel program. If you have additional trouble installing the add-in, please don't hesitate to reach out to us for further assistance!
MyEducator Support